
What's Next?
Ear Impression Instruction Sheet
Please complete these steps before mailing your impressions to us.
Step 1 – Get Your Ear Impressions Taken
Locate an audiology office near you and contact the audiologist to find out the fees and set an appointment. We recommend shopping around as ear impression costs can vary significantly.
We recommend taking our Audiologist Instructions Sheet with you to show the audiologist when you go in for your impressions. This sheet explains exactly what type of impression is required for a proper custom fit.
↑ Back to topStep 2 – Verify Your Impressions
Once you have your impressions in hand, please email a few photos of them to impressions@meeaudio.com, along with your order number. We will visually inspect them for issues that may prevent a good fit of the end product. This can help avoid the delay and expense of sending impressions back and forth if they are not adequate.
Below are examples of the best angles for photographing your impressions:
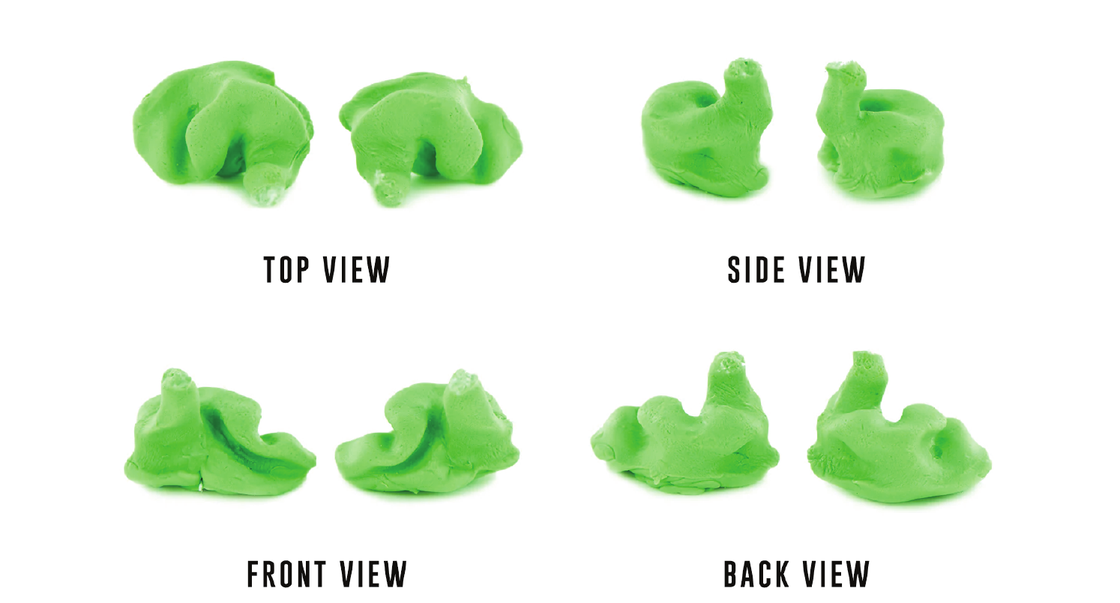
Please do not ship your impressions until they have been approved by our team via email.
Step 3 – Send Them to Us
Once your impressions have been approved by our team, you will receive an email with further instructions on how and where to ship your impressions. Please do not ship your impressions until they have been approved.
Upon receiving your impressions, an order status update email confirming that we have received them will be sent to you. You will continue to receive order status update emails as your order progresses through our manufacturing process, and then again once your order ships. The status of your custom-fit order can also be viewed in your account order history.
Impression verification email: impressions@meeaudio.com
Please include your order number in the subject line or body of your email.